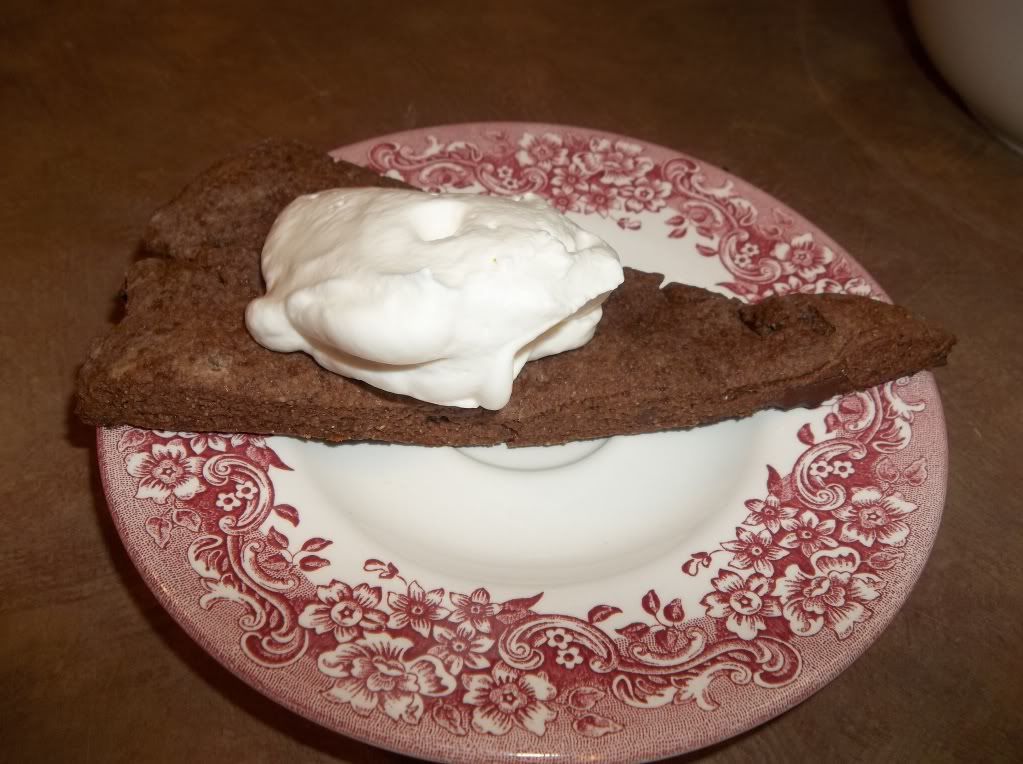
Chocolate Chocolate Chip Scones
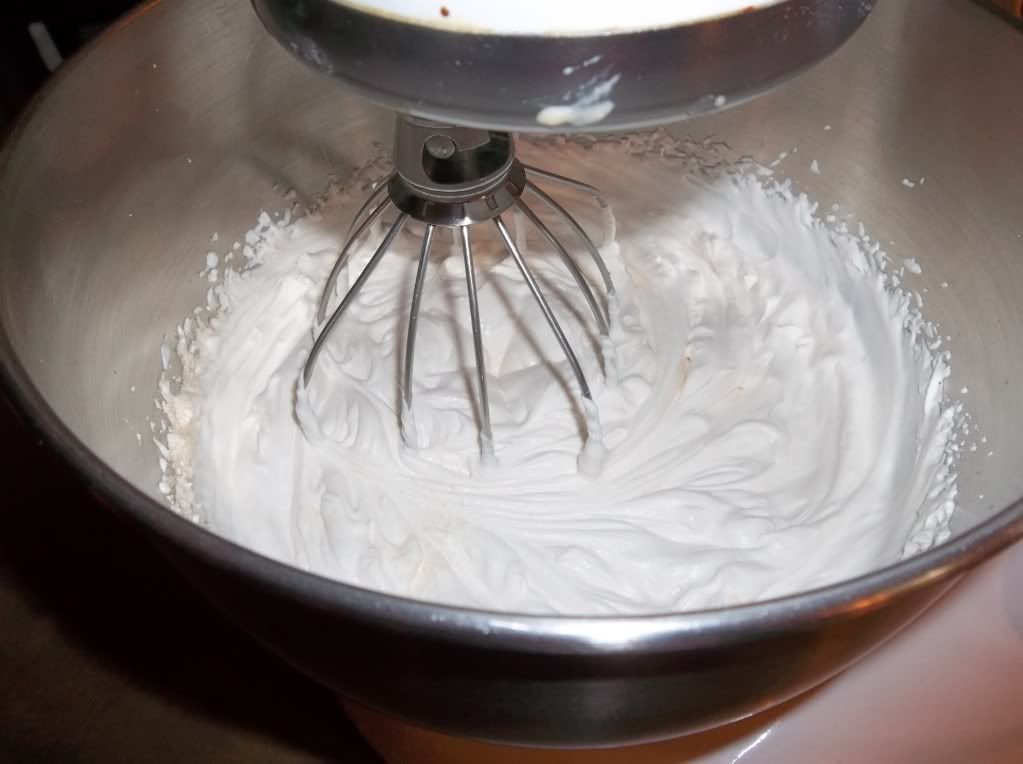
with fresh whipped cream!
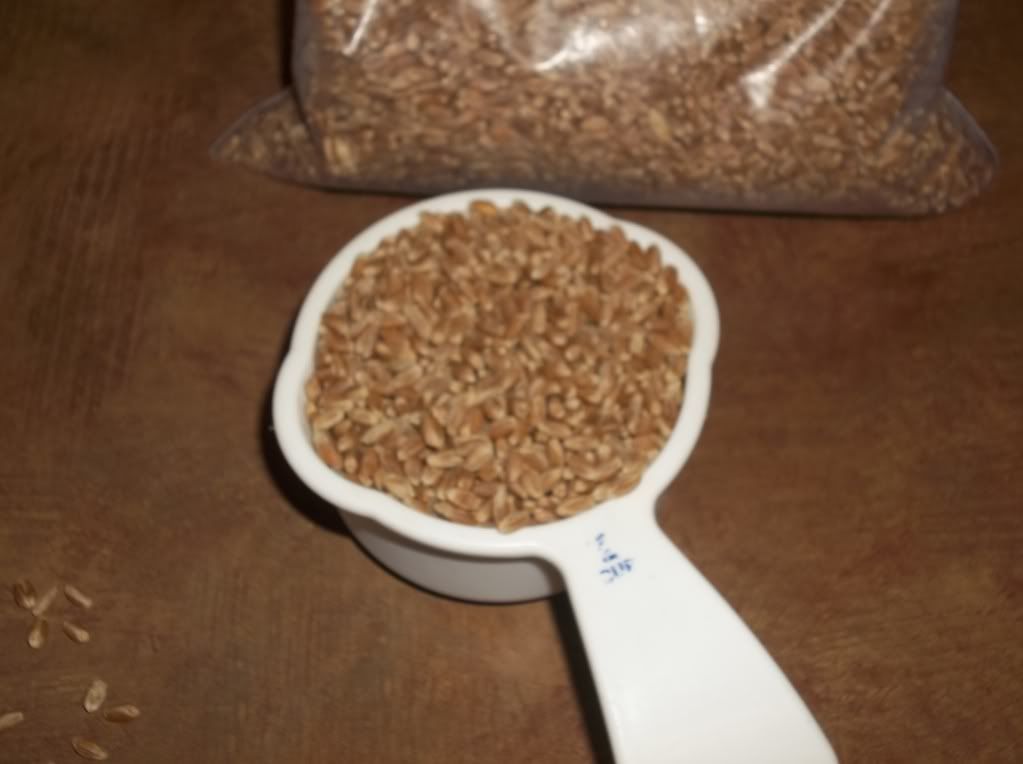
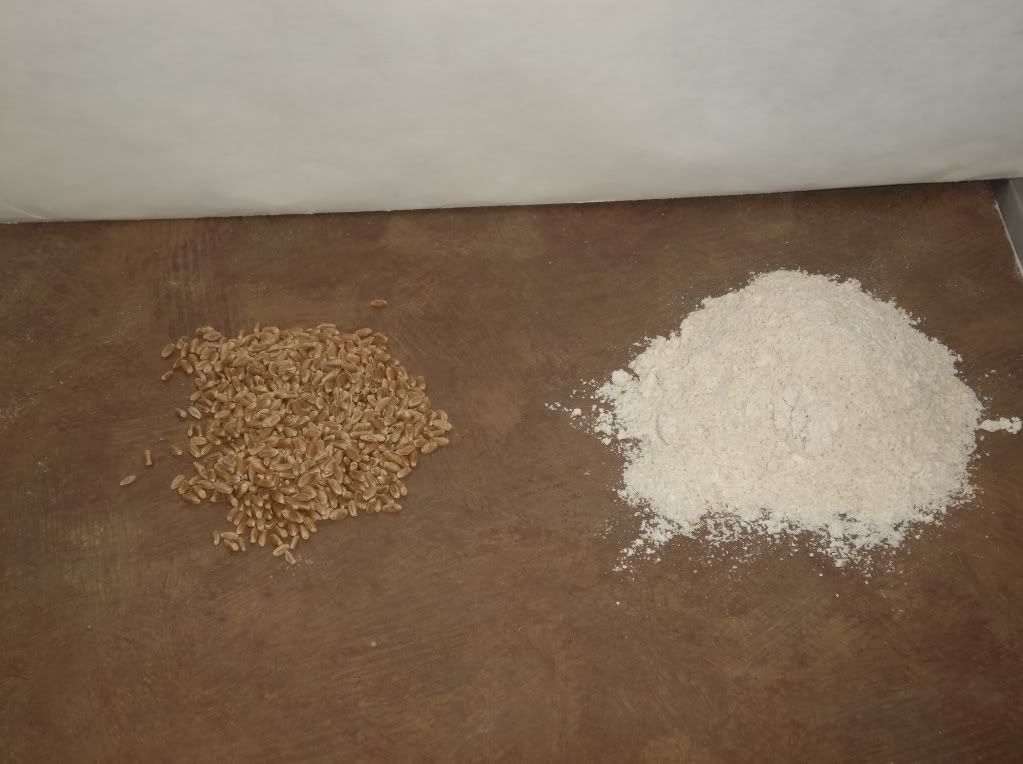
1 1/2 cups whole wheat flour
1/4 cup sucanat
2 teaspoons baking powder
1/4 teaspoon salt
1/2 cup butter or coconut oil, cold
1/2 cup milk
1/4 cup cocoa powder
1 cup chocolate chips
Preheat oven to 400 degrees. In a mixing bowl, combine flour, sucanat, baking powder, cocoa powder and salt. Cut in the butter or coconut oil until the mixture looks like coarse cornmeal. Add the milk and chocolate chips and mix. Turn out onto a floured surface and knead a few times and roll into a thick circle that is about 9-inches around and 1/2-inch thick.


Bake about 15 to 18 minutes. Serve with fresh whipped cream!
Enjoy and Happy New Year!